
Last updated November 4, 2026
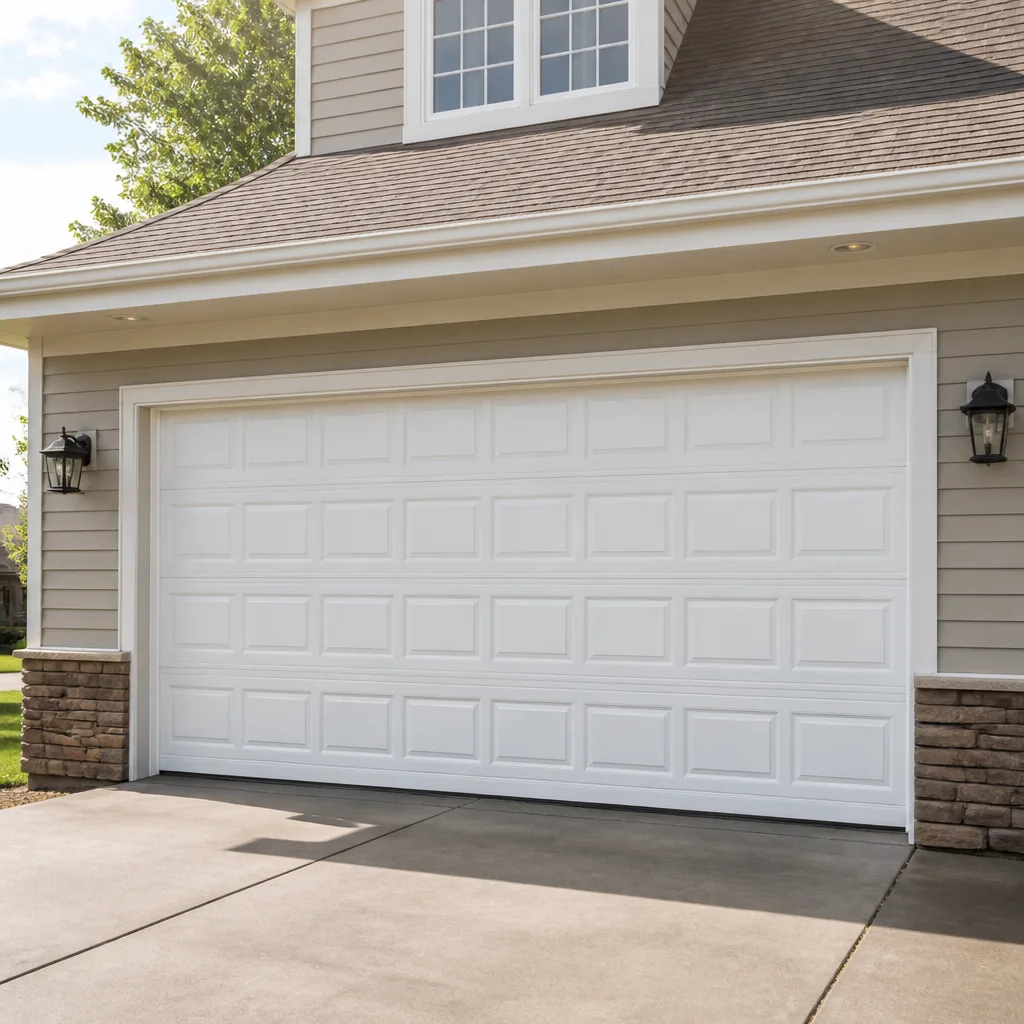 Raised-panel steel
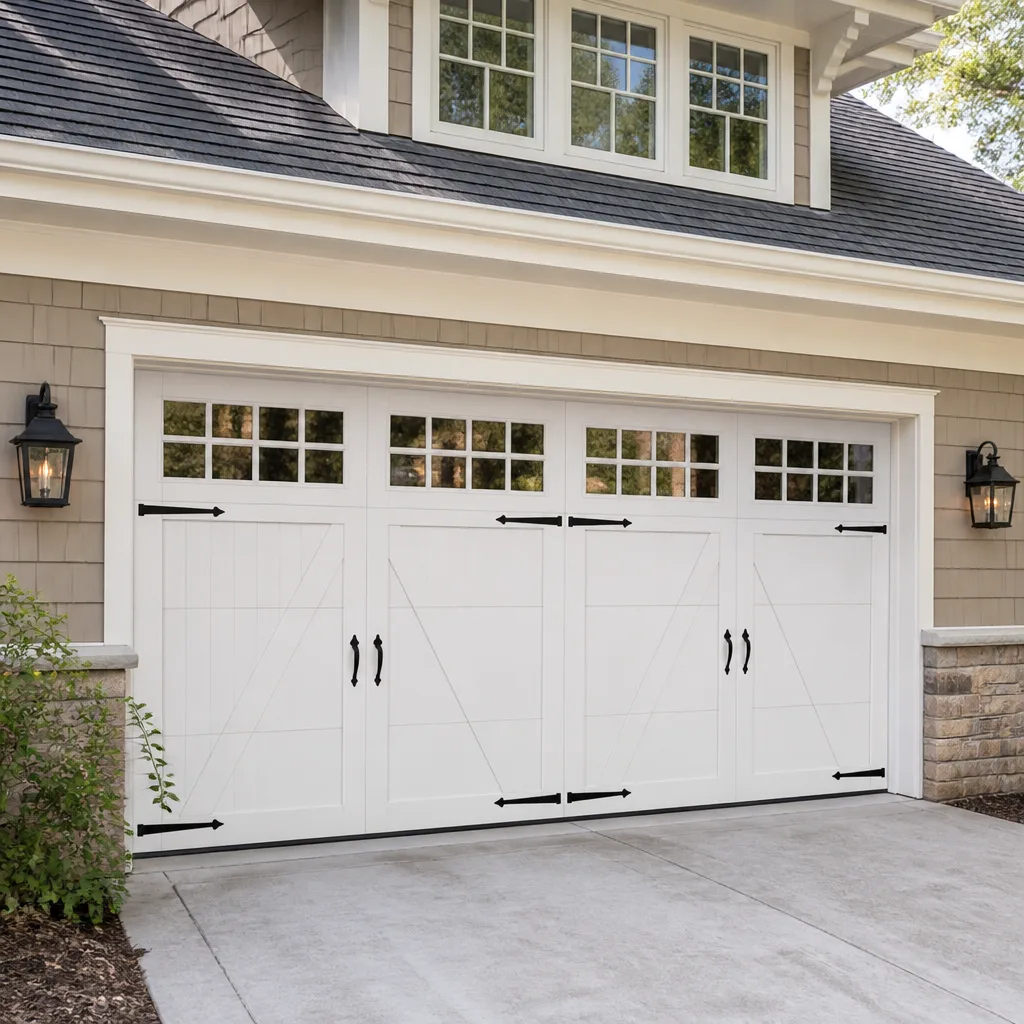 Carriage house
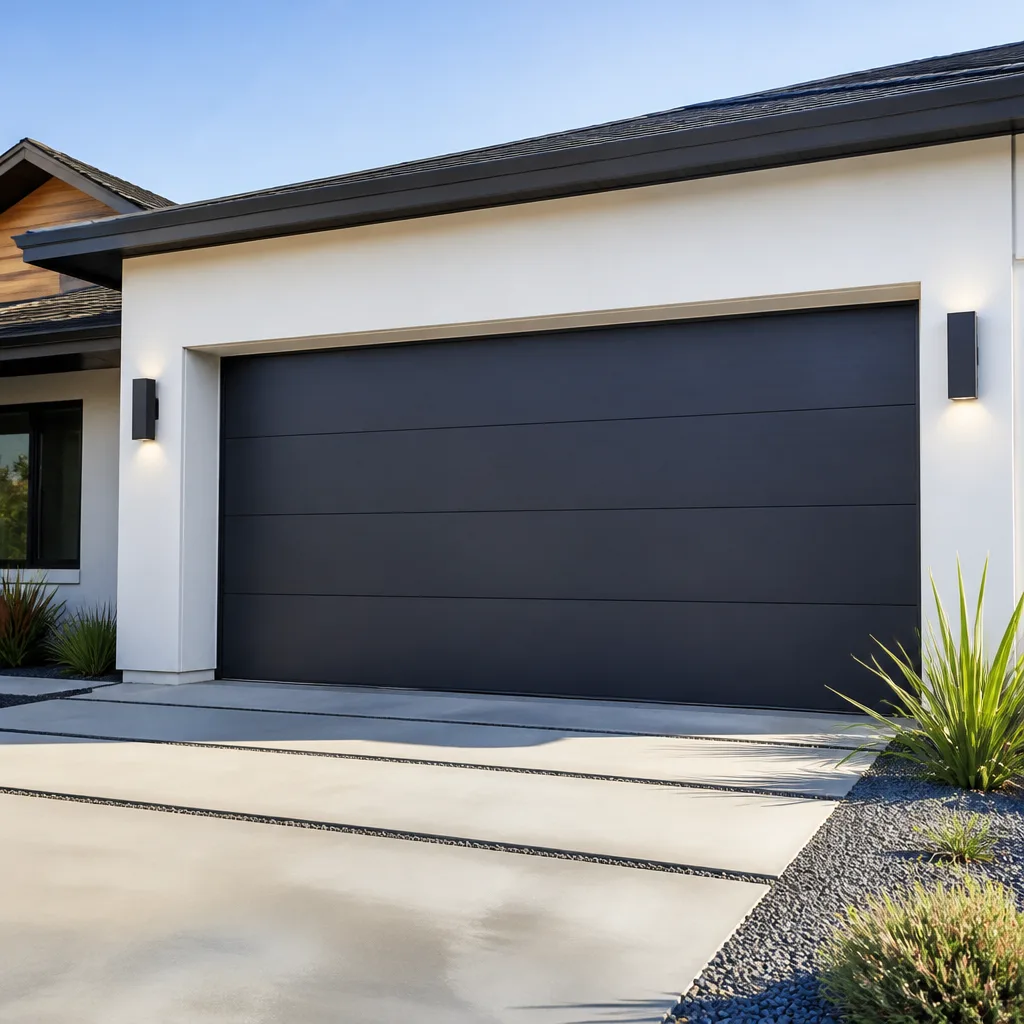 Modern flush
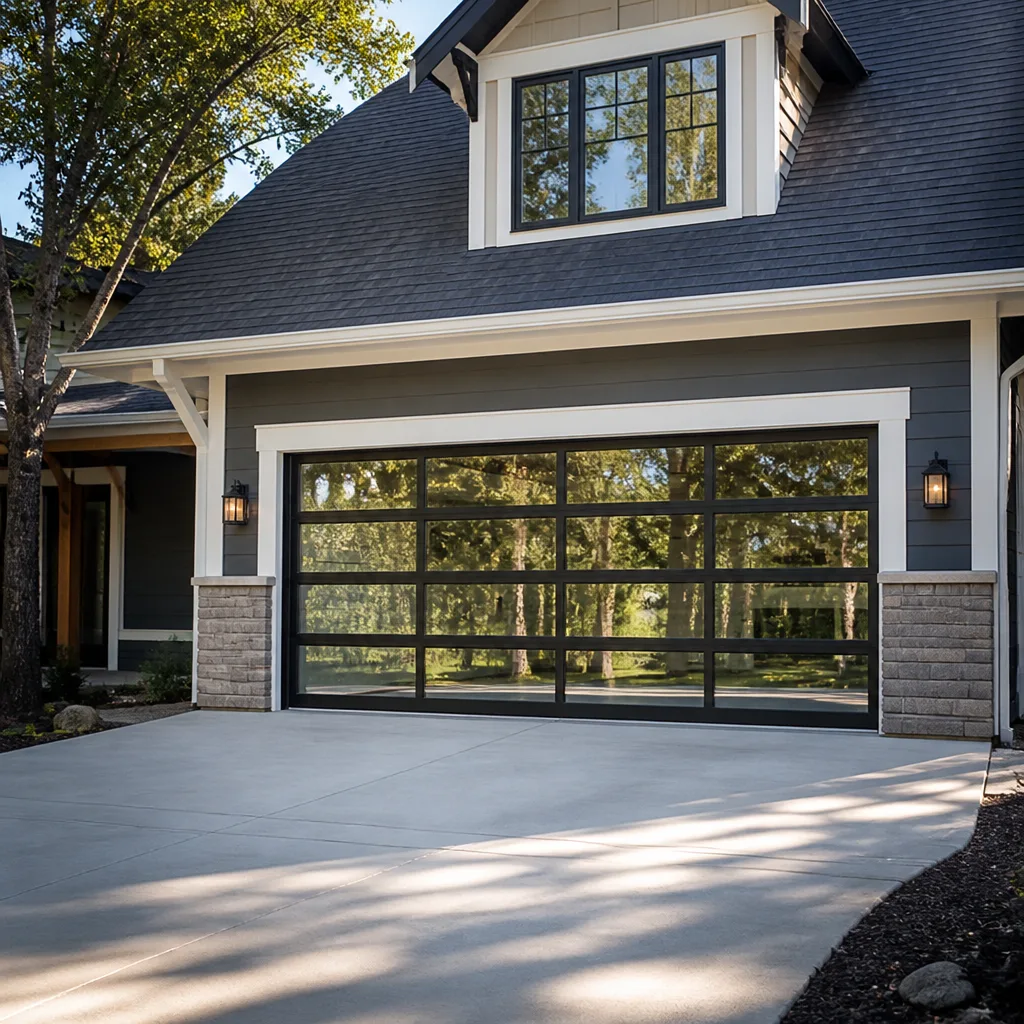 Full-view glass
 LiftMaster openers
 Chamberlain openers
Full 25-point door and opener safety check with every visit - springs, cables, rollers, tracks, and your LiftMaster or Chamberlain opener included
You get a price before we start. It does not change when the truck arrives.
Get your free estimateGarage Door Repair Maintenance Schedule: What to Do and When
The single most common reason a garage door spring fails isn’t age. It’s that nobody lubricated it during the two months it needed it most. In Diamond Bar, those months are almost always September and October, when the Santa Ana winds settle in and pull every bit of moisture out of the air. The spring runs dry, the coils bind, and what should have been a fifteen-year part snaps in seven. This guide will walk you through what to check, when to check it, and which maintenance tasks actually matter for a garage door in our climate. Most of it takes less than ten minutes. None of it requires special tools.
Styles & brands we work with
- Raised-panel steel
- Carriage house
- Modern flush
- Full-view glass
- LiftMaster openers
- Chamberlain openers
Quick Answer
A garage door maintenance schedule for Diamond Bar homes should include a light lubrication of springs, rollers, and hinges twice a year, a pre-summer heat check in May, a post-Santa Ana wind inspection in November, and a professional tune-up every two to three years. If you commit to those four touchpoints, you’ll catch most failures before they become breakdowns.
Table of Contents
- Why Timing Matters More Than Frequency
- The Diamond Bar Maintenance Calendar
- What to Lubricate (and the One Part You Shouldn’t)
- The Balance Test: Three Minutes That Reveal Spring Health
- The Force Test: How to Know If Your Opener Settings Have Drifted
- Component Lifespan Benchmarks: Maintaining vs. Delaying
- What a Technician Checks That You Can’t
- Common Mistakes to Avoid
- When to Call a Professional
- Frequently Asked Questions
- The Bottom Line
Why Timing Matters More Than Frequency
Garage door maintenance guides tend to push a monthly checklist. That’s overkill for most homes, and it doesn’t address what actually stresses a door in Southern California. Our dry heat is gentle on metal compared to coastal humidity or freeze-thaw winters, but it does two specific things: it dries out lubricant faster than most people expect, and it bakes rubber and plastic components until they get brittle. Then the Santa Ana winds arrive in the fall and load the door with lateral force while the air drops to single-digit humidity. That combination is when we see the most spring failures and roller wear across Diamond Bar.
So the schedule isn’t really about doing twelve small tasks a month. It’s about doing the right tasks at three predictable moments in the year. A homeowner who lubricates in May and November, checks the balance in July when the door has been through its first real heat, and inspects hardware after the windy season will outperform someone who follows a generic monthly list. In our experience servicing doors from Genie, Clopay, Amarr, and Wayne Dalton systems, we’ve seen that timing matters more than raw frequency. A spring lubricated at the right moment lasts years longer than one lubricated four times a year at random intervals.
The Diamond Bar Maintenance Calendar
Here’s the schedule we recommend for Diamond Bar homeowners. It’s built around our actual seasons, not a national average. You can pencil it into a phone calendar and it’ll take you about ten minutes per session.
May: Pre-Summer Heat Check
The goal here is to prepare the door for the hottest stretch of the year. Metal expands when it sits in 90-degree sun all day, and the door’s steel panels and aluminum track can shift enough to cause minor binding. At the same time, rubber weatherstripping along the bottom of the door starts to dry out and harden if it hasn’t been conditioned.
- Lubricate both torsion springs (or the extension springs on either side if you have an older setup) with a lithium-based spray grease. You want a thin, even coat across the coils.
- Apply a silicone-based lubricant to the steel rollers at each hinge point. Ten to twelve rollers on a typical double door, less on a single.
- Check the rubber weatherstrip along the bottom. If it’s stiff but not cracked, you can leave it. If you see cracks or gaps, it’s time to plan for replacement, since summer heat will only make it worse.
- Run the door up and down twice while watching it from inside the garage. Listen for grinding, popping, or a change in pitch that wasn’t there before.
November: Post-Santa Ana Wind Inspection
The Santa Ana season is the single most demanding time of year for garage door hardware in Diamond Bar. Sustained winds push against the door while it’s closed, which loads the springs, cables, and hinges in ways that normal daily use doesn’t. After the windy weeks pass, take a careful look.
- With the door closed, stand inside the garage and look at the torsion spring above the center of the door. You’re checking for any visible gap or separation in the coils. A one-millimeter gap is normal. A one-centimeter gap means the spring is close to failing, and you should schedule a garage door repair visit rather than waiting.
- Inspect the lift cables on both sides of the door. Look for frayed strands or any sign of rust at the bottom bracket where the cable attaches.
- Check each hinge where the door panels meet. Santa Ana winds will flex the door more than usual, and hinges are the most likely component to loosen. Tighten any loose screws with a socket wrench.
- Give the springs and rollers their second lubrication of the year. The air is at its driest right after the winds, and fresh lubrication restores the moisture barrier the dry air stripped away.
Year-End: Hardware Review
Before the calendar turns over, do a full hardware pass. This is a visual and tactile inspection, not a maintenance task. You’re looking for things that have changed over the past twelve months and deciding whether anything needs attention from a technician.
- Check every bolt and screw you can see. Vibration from daily use loosens hardware over time. A loose track bracket is a cheap fix when caught early and a more serious track alignment problem when ignored.
- Look at the condition of the rollers. Nylon rollers from brands like Clopay and Amarr will show wear as a flattening or chipping of the wheel. Steel rollers may start to sound louder than they did the year before.
- Test the auto-reverse function on your opener. Place a roll of paper towels flat on the ground in the door’s path and close the door. If it doesn’t reverse within two seconds of contact, the opener’s force setting is wrong, and that’s a safety issue you should address promptly.
- Do a quick balance and force test (explained below) to catch any drift in spring tension or opener settings.
What to Lubricate (and the One Part You Shouldn’t)
Lubrication is the highest-value maintenance task on a garage door, but only if you use the right product on the right part. Using the wrong lubricant, or putting lubricant where it doesn’t belong, creates problems that didn’t exist before. Here’s the breakdown we give to every Diamond Bar homeowner who asks.
What Gets Lubricant
- Torsion springs: A lithium or silicone spray grease. Coat the coils lightly. This is the single most important lubrication point on the door, and it’s where skipping maintenance causes the most failures. The spring expands and contracts constantly, and without a proper film of grease the coils scrape against each other and develop micro-fractures.
- Steel or nylon rollers: A silicone-based lubricant on the bearings. If the roller has exposed ball bearings, you can apply a drop of white lithium grease directly to the bearing. If there’s no exposed bearing, spray the stem where the roller meets the hinge.
- Hinges: A light spray of silicone lubricant at each pivot point. You don’t need much. One quick spray per hinge, twice a year, is sufficient.
- Lift cables: Use a light coating of lithium spray grease to prevent rust. The cable itself doesn’t need to be “lubricated” in a mechanical sense, but a thin protective film helps in our dry climate where metal can get brittle over time.
- Opener chain or screw drive: If your opener has a visible chain or screw, it needs its own maintenance separate from the door hardware. For a chain-drive opener from a brand like Genie or Wayne Dalton, use a light coat of lithium spray grease on the chain. For a screw-drive opener, use the product your manual specifies.
The Part You Should Never Lubricate: The Track
The track is the metal channel on either side of the door that the rollers ride in. It looks like it should be lubricated, and plenty of well-meaning homeowners spray it with WD-40. Don’t. The rollers are designed to turn on bearings inside the track. They don’t need a slick surface to slide on, because they’re not sliding at all. Adding lubricant to the track attracts dust, and in Diamond Bar’s dry, windy conditions, that dust becomes a paste that gums up the track and actually causes the very sticking and grinding the homeowner was trying to prevent.
If your track is dirty, wipe it out with a dry cloth. If it’s greasy from prior lubrication, clean it with a degreaser and a rag. The track should be clean and dry. Period.
The Balance Test: Three Minutes That Reveal Spring Health
The balance test is the fastest reliable way to determine whether your door’s springs are doing their job. A properly balanced door will stay in place when you open it halfway and let go. A door that’s losing its spring tension will drift down, which means the opener motor is working harder than it should be every time the door lifts. That excess strain shortens the opener’s lifespan and is the primary reason a door that used to operate quietly starts sounding labored.
Here’s how to do it:
- Pull the red emergency release cord that hangs from the opener rail. This disconnects the door from the opener motor so you’re testing the door’s own weight against the springs, not against the motor.
- With the door in the closed position, lift it manually by the handle until it’s about halfway up, roughly waist height.
- Let go.
- Watch what happens. A healthy door should stay in place, or move very slowly in either direction. If it drops more than a few inches on its own, your springs are either under tensioned, incorrectly matched to the door’s weight, or worn out, and you should call for a professional inspection.
- Lift the door almost all the way up and release again. It should stay in place at the top. If it falls back down, the spring tension is inadequate for the door’s weight.
- Reconnect the door to the opener by pressing the wall button once, or by pulling the release cord toward the opener and running the opener through a cycle until it re-engages.
If the door fails the balance test in either position, don’t ignore it. A door that’s heavier than its springs are rated to handle will work its opener motor to death. Most openers have a service life of ten to fifteen years under proper conditions. Running against an unbalanced door can cut that in half.
The Force Test: How to Know If Your Opener Settings Have Drifted
The force test checks whether your opener is applying the right amount of force to move the door. If the force setting drifts too high, the opener won’t reverse when it hits an obstruction, which is a safety problem. If it’s too low, the opener may struggle to lift the door on hotter days when the metal has expanded and the door is slightly heavier.
Most openers from Genie, Chamberlain, and LiftMaster have a simple built-in test. Here’s the general procedure:
- Close the door.
- Place a 2×4 board flat on the ground directly under the door’s path, in the center.
- Close the door onto the board, or attempt to close it.
- The door should reverse within about two seconds of contacting the board and return to the open position.
- If it doesn’t reverse, the force setting is too high and needs adjustment. Refer to your opener’s manual, or schedule a garage door opener repair visit.
Modern openers have automatic force settings that adjust as the door’s weight changes, but that automatic adjustment is only functional when the door itself is balanced. If your door fails the balance test and then fails the force test, the fix starts with the springs, not the opener. Replacing the opener’s motor or logic board won’t correct a door that’s fighting its own weight.
Component Lifespan Benchmarks: Maintaining vs. Delaying
Every part on a garage door has an expected service life. Maintenance extends that life, but it doesn’t eliminate the endpoint. Knowing the typical lifespans for the components on homes in Diamond Bar helps you distinguish between a door that needs maintenance and a door that’s telling you a replacement is imminent.
Expected Service Life of Common Components
- Torsion springs: 7 to 12 years, or roughly 10,000 cycles. Cycle ratings vary by manufacturer and spring grade. A standard spring from a brand like Amarr or Clopay is typically rated for 10,000 cycles. If your door opens and closes four times a day, that’s about seven years. If you use the garage as your primary entrance and the door cycles eight times daily, you’re looking at closer to three and a half years.
- Extension springs: 5 to 10 years. Older doors in Diamond Bar that were installed before torsion springs became standard equipment often use extension springs mounted above the track on either side.
- Steel rollers: 5 to 7 years. Steel rollers with noisy bearings are usually the first component to degrade audibly, and many homeowners replace them with nylon rollers as an upgrade when the time comes.
- Nylon rollers: 10 to 15 years. Nylon rollers are quieter than steel and hold up better in our climate because they don’t rust.
- Cables: 8 to 15 years. Cables on a Diamond Bar door typically fail from gradual fraying rather than sudden breakage. The year-end inspection is the right time to check for strand separation.
- Weatherstripping: 3 to 5 years in our sun. The bottom seal is exposed to more UV radiation here than in most of the country, so it degrades faster.
- Opener motor: 10 to 15 years. A well-maintained opener that isn’t fighting an unbalanced door should reach the high end of that range.
When Maintenance Becomes Delay
There’s a point where continued maintenance stops being useful and starts being procrastination. If your springs are past their cycle rating, lubricating them every season won’t restore their tension. If your cables have visible fraying, no amount of spray grease will put the strands back. And if your opener is fifteen years old and the smart features are starting to fail, repairing it piece by piece may not be the best use of your money. A technician who can look at the whole door, spring, and opener system together will tell you honestly whether you’re maintaining something that has useful life left or postponing an inevitable replacement.
What a Technician Checks That You Can’t
A professional tune-up covers ground that a homeowner physically cannot reach or safely cannot assess. We perform these inspections all over Diamond Bar, and the intervals matter: most doors in good condition only need this every two to three years, not annually. A technician’s value is in catching problems before they become obvious to the untrained eye.
Checks That Require a Pro
- Spring torque measurement: A technician uses a torque wrench to measure the actual winding force on the spring. A visual inspection can tell you the spring hasn’t snapped. A torque measurement tells you whether it’s lost tension and needs re-winding or replacement.
- Cable tension symmetry: The two lift cables must hold exactly equal tension. A difference of even a few pounds puts uneven stress on the door and causes it to track crooked over time. A technician measures this with a cable tension gauge.
- Track alignment and spacing: The tracks have a specified gap between the roller and the track wall. If the gap drifts outside tolerance, the door will eventually jam. Homeowners can see a visibly bent track, but they can’t measure a spacing issue of an eighth of an inch that’s causing uneven wear.
- Opener logic board diagnostics: Modern openers from Genie and Chamberlain have diagnostic codes that indicate sensor problems, force limit issues, or motor overheating. A technician can read these codes and diagnose a problem before it causes a failure.
- Safety sensor alignment: The photo eye sensors on either side of the door opening must point at one another within tight tolerances. Homeowners know to check that the lens is clean, but a technician can verify the alignment with a level and adjust the brackets if they’ve been knocked out of position.
For most Diamond Bar homes, a tune-up every two to three years is appropriate. If your door sees heavy daily use, or if you have a door and opener that are more than fifteen years old, an annual inspection may be worthwhile. But if you’re doing the seasonal tasks in this guide, you’re likely already catching most issues before they turn into failures.
Common Mistakes to Avoid
- Lubricating the track. As covered above, this is the most common well-intentioned mistake. A greasy track collects dust during Santa Ana season and creates a paste that can actually bind the door.
- Using WD-40 or penetrating oil on the springs. It’s tempting because it’s in the garage already, but penetrating oil is designed to break down rust and free stuck parts. It doesn’t leave a lasting film, so it evaporates quickly and leaves the spring drier than before.
- Ignoring a failed balance test because “the door still opens.” A door with weak springs will still open if the opener motor is strong enough, but it’s running every cycle under excessive load. The breakdown shows up as an opener that fails years early, not as a spring that snaps immediately.
- Waiting until the spring snaps to call a technician. If the balance test or visual inspection shows the spring is separating, you still have time to replace it on your schedule. When it breaks completely, you’re looking at a same-day Harbor Garage Door Service call and a door that won’t open until someone arrives.
- Doing the balance test without disconnecting the opener first. If you don’t pull the emergency release, you’re testing the motor, not the spring-d
See the difference
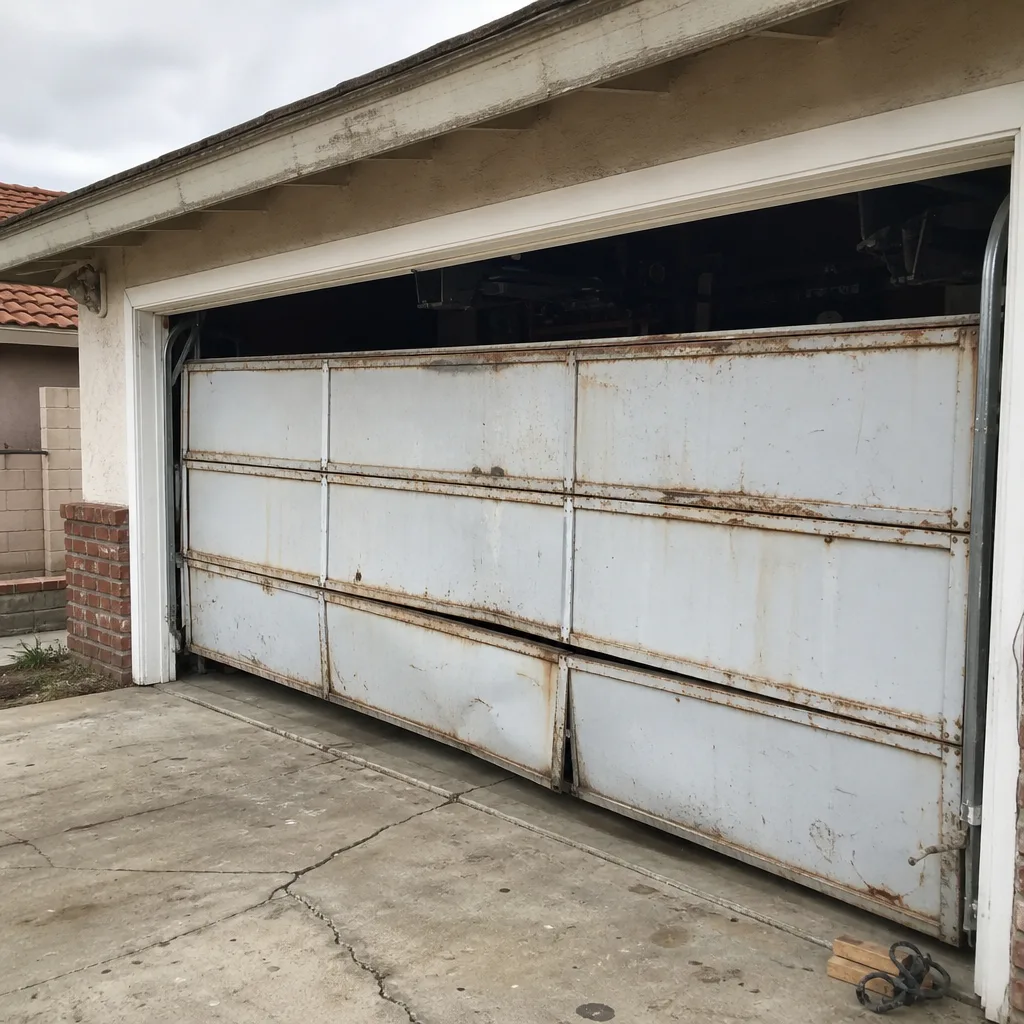 Before
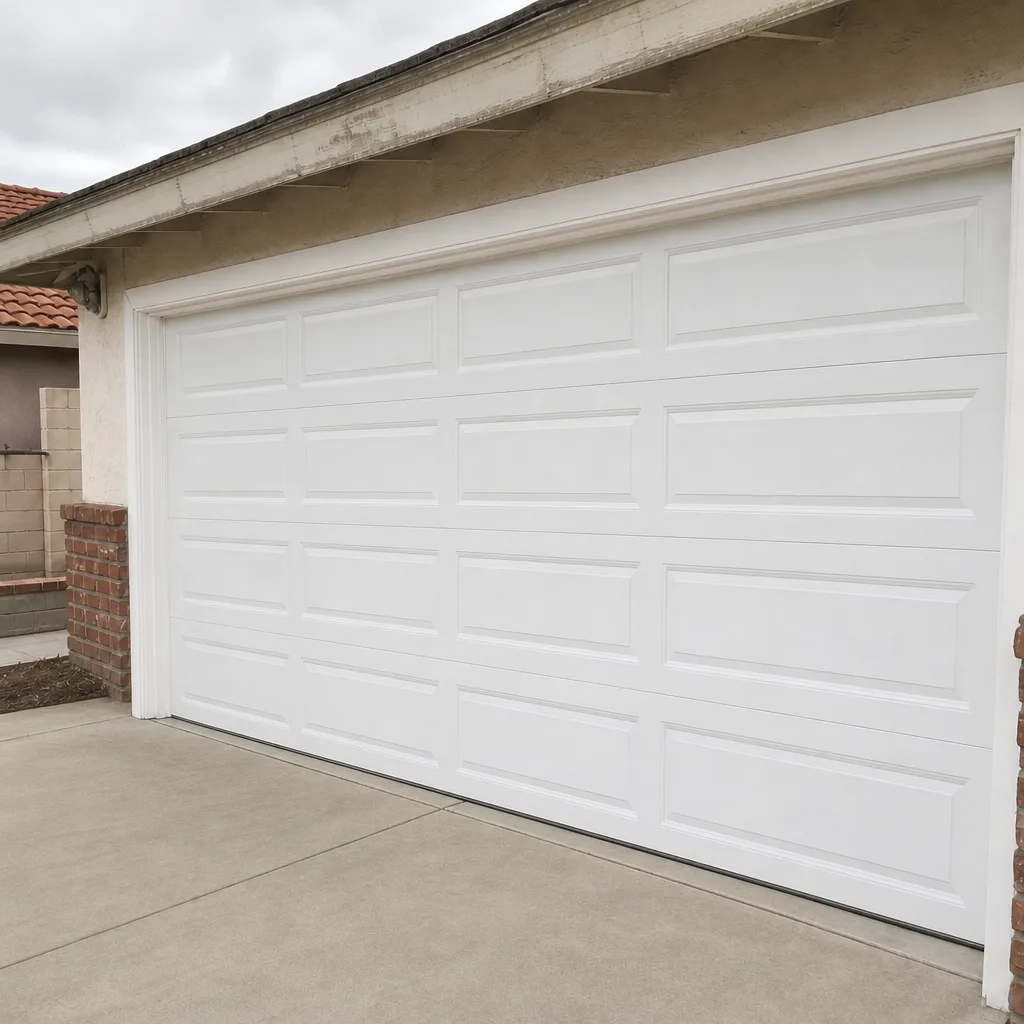 After
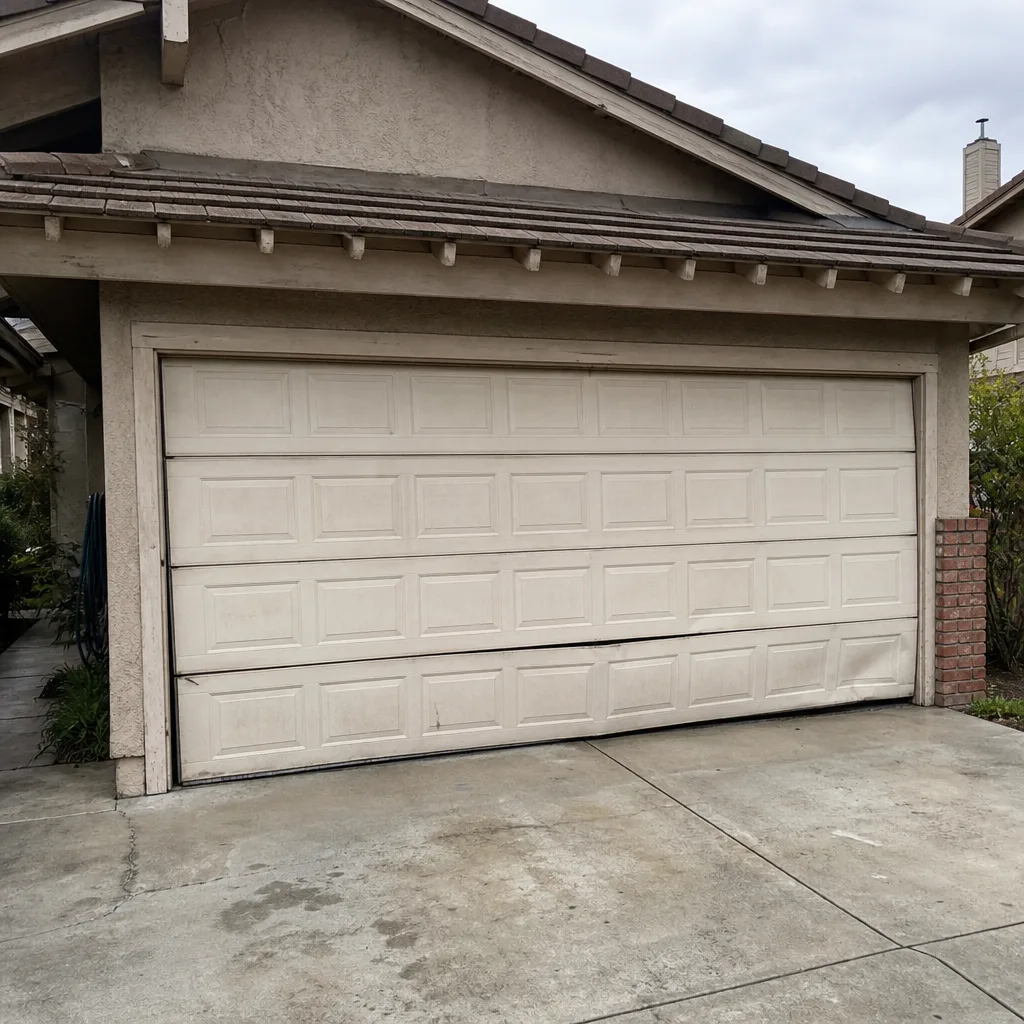 Before
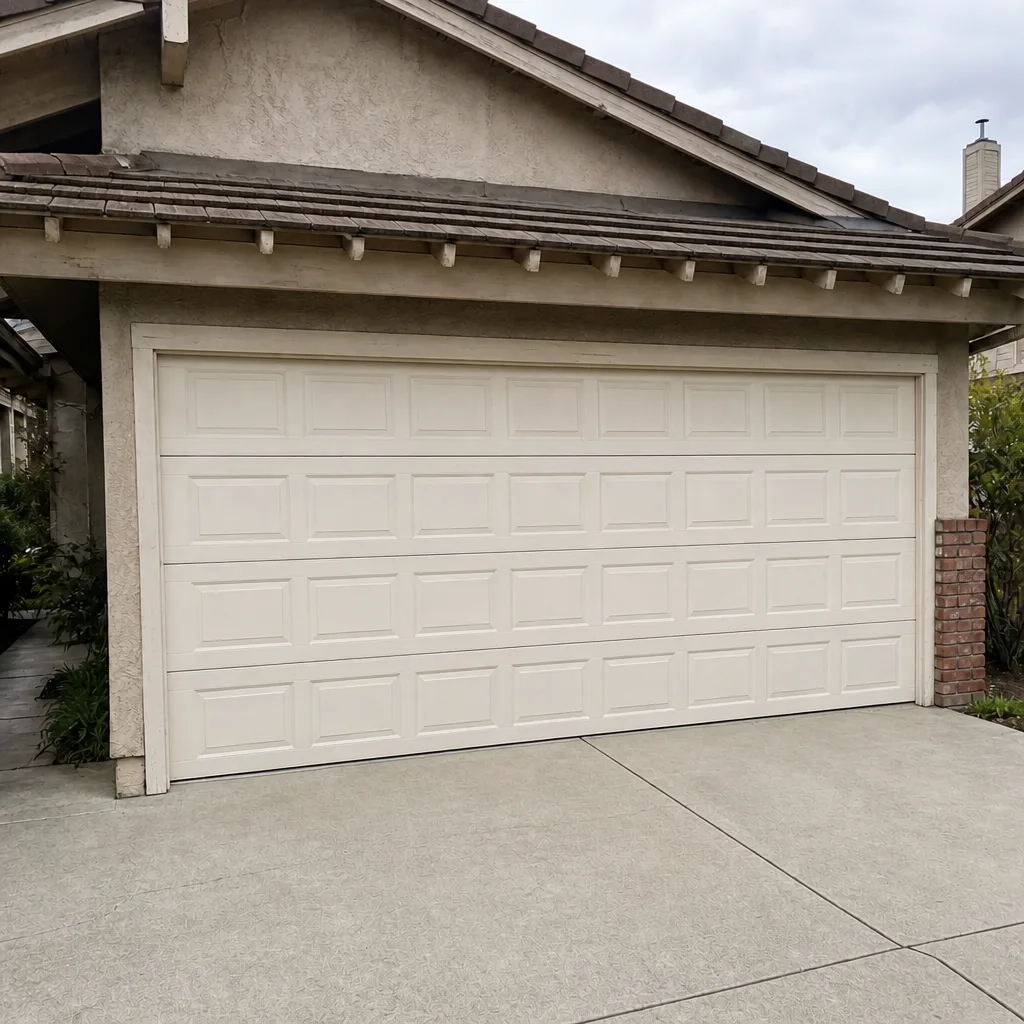 After
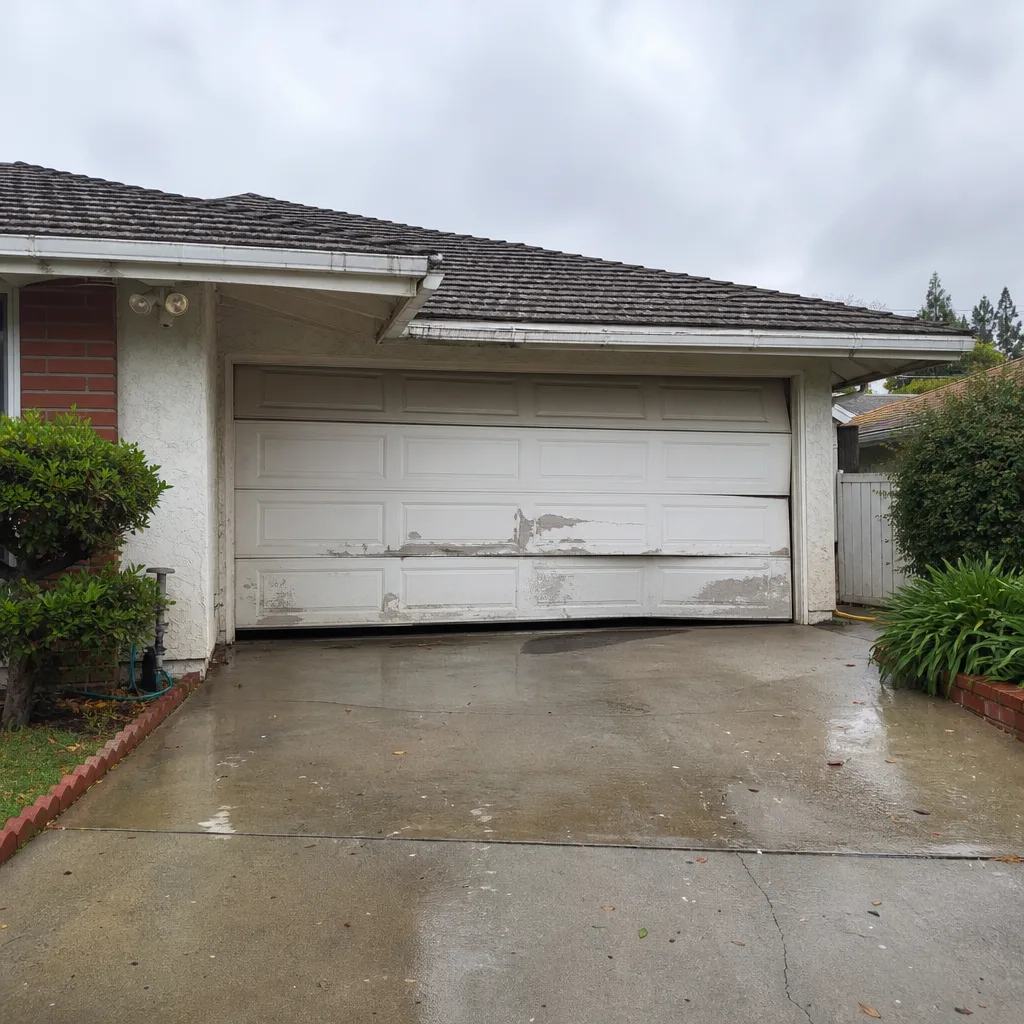 Before
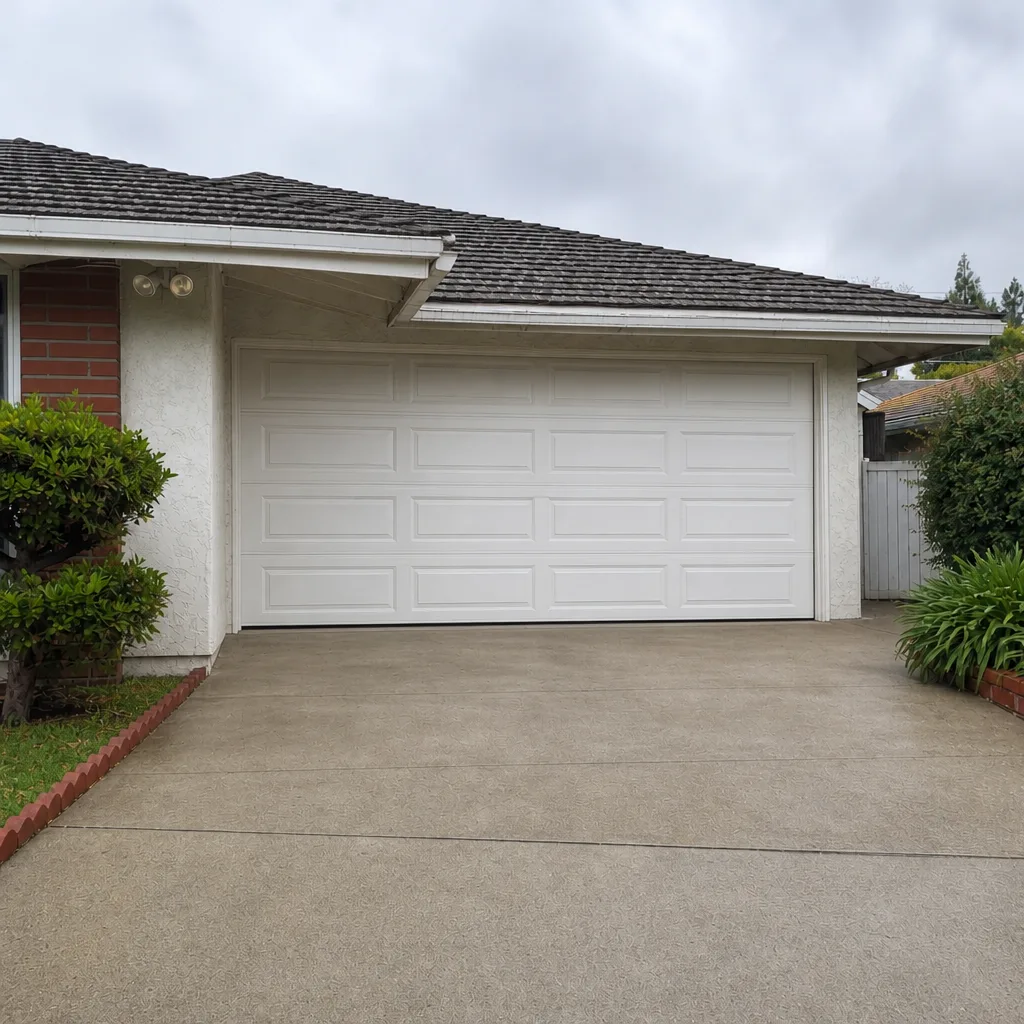 After